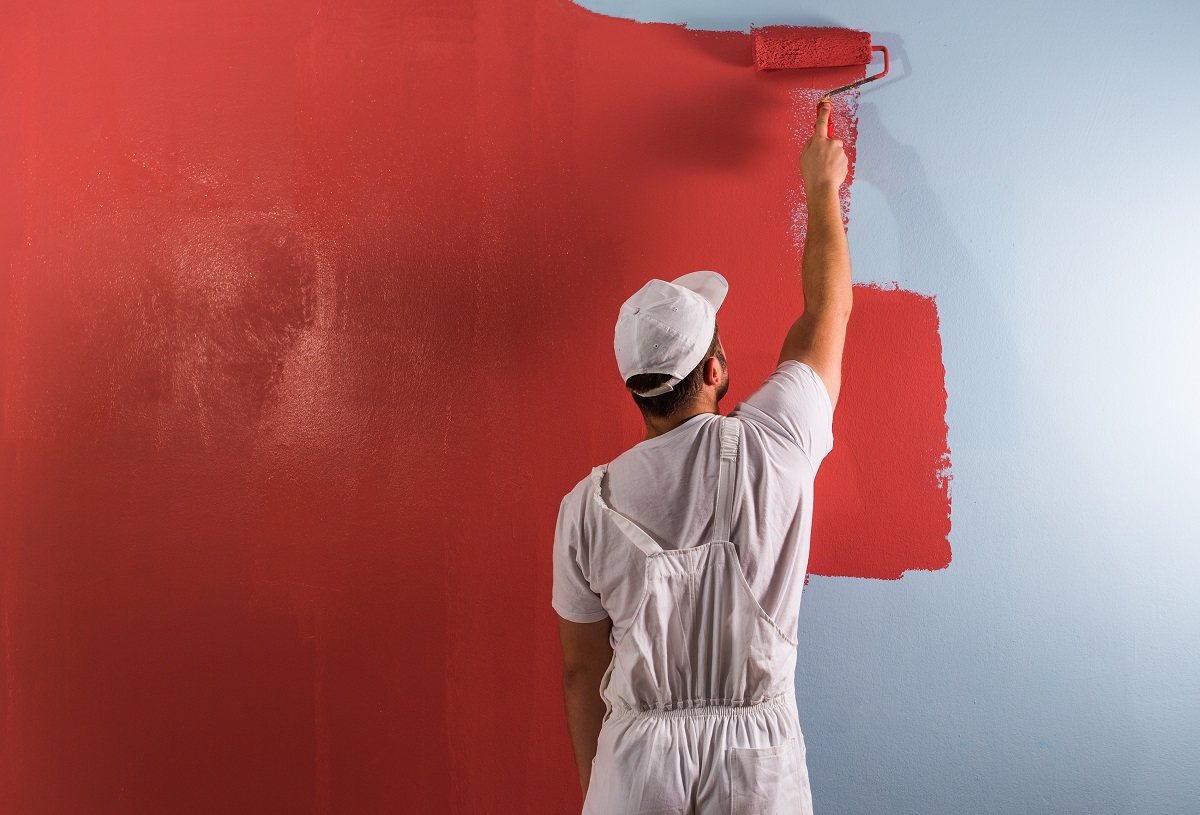
It’s not enough to do an amazing decorating job if you haven’t properly protected the surfaces of the home, building, or office in question. Without the proper temporary protection products, surfaces like the floor can become damaged or even ruined by spilt paint. To avoid such a scenario, this guide on how to cover floors before painting will take you through the process step by step, while also recommending the best floor protection products to use.
Instructions for protecting floors when painting
1. Select your protection material
The first step is to select a temporary floor protection product to give the surface the best protection possible during the painting process. There are a number of options here depending on your preferences and the type of floor in question. Read on to discover some of the best floor protection for painting options, pick a protection material and move on to step two.
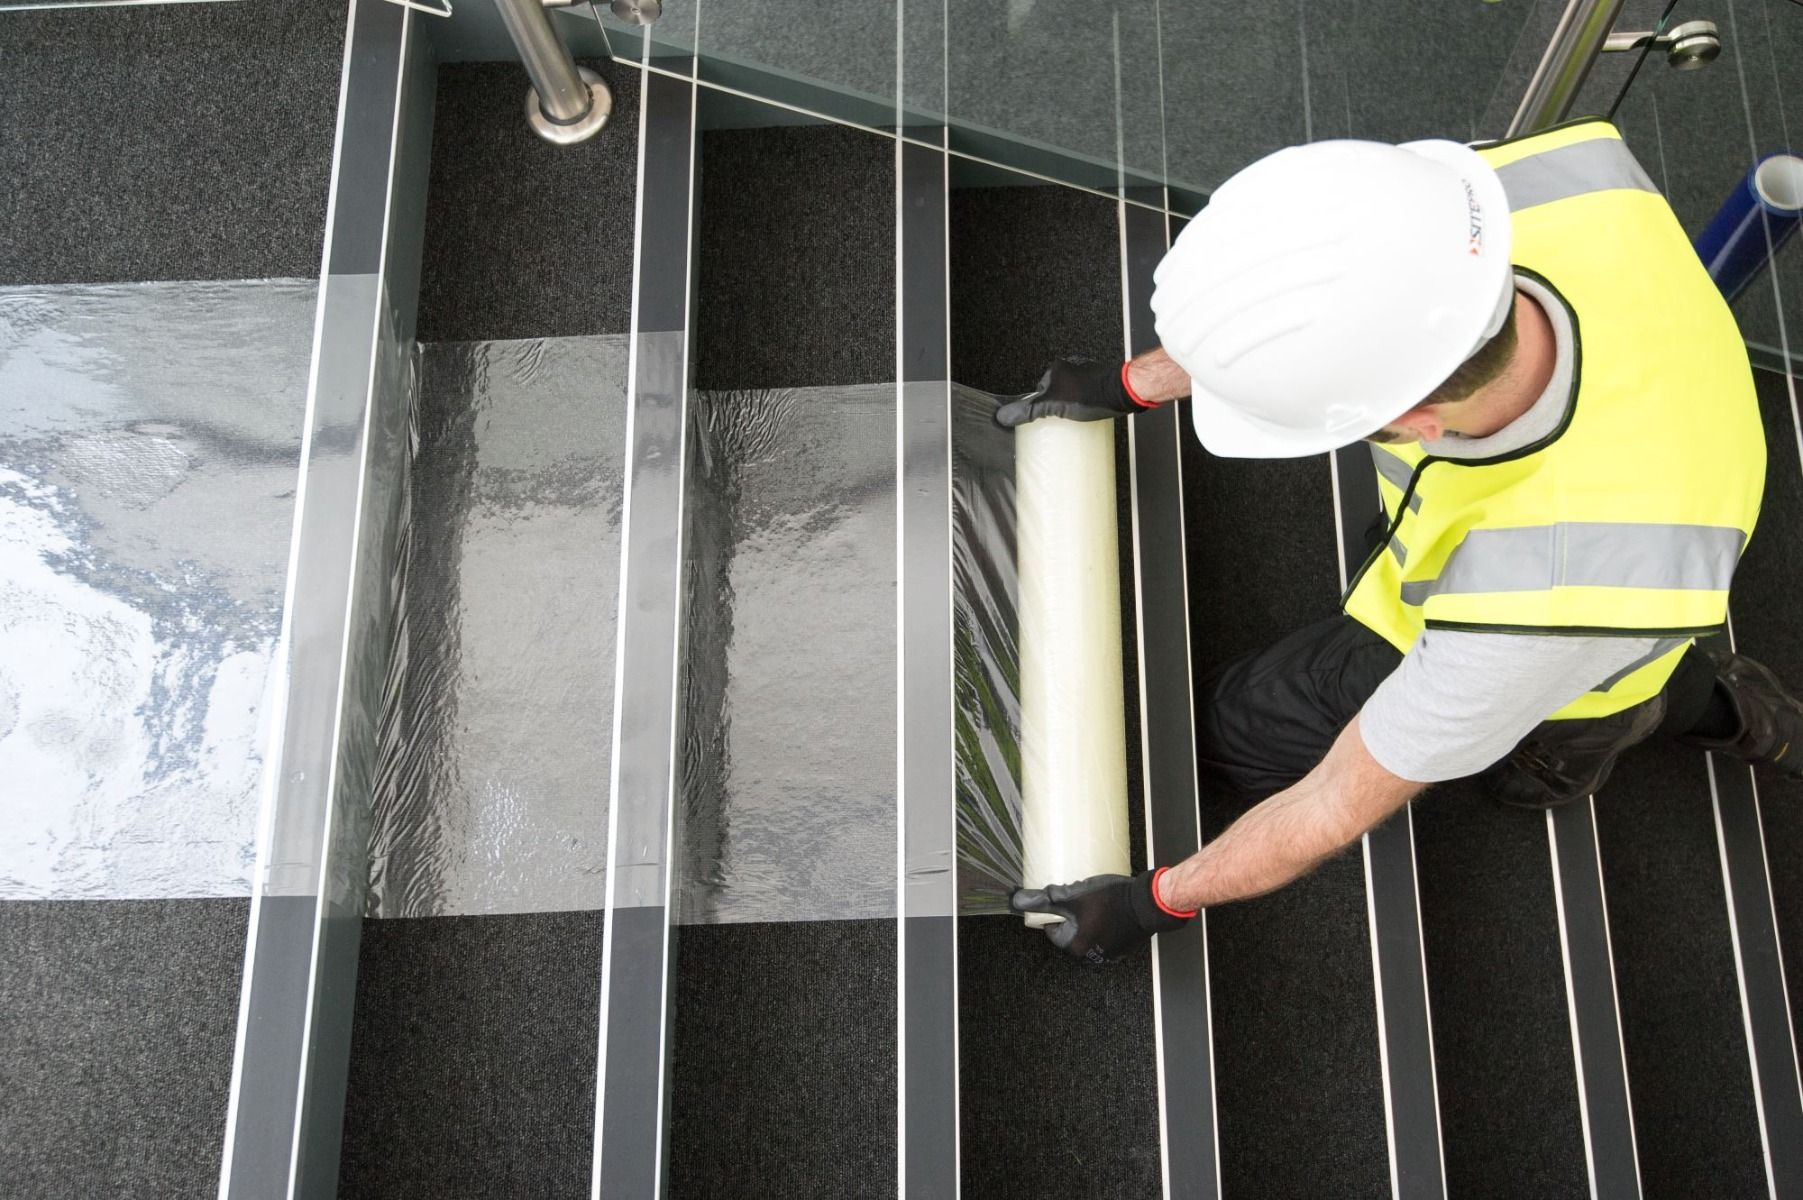
Carpet protection film
Carpet protection film is an excellent option for protecting floors when painting and decorating. Designed for use on carpets it’s incredibly easy to use due to its built-in self-adhesive, meaning there will be no taping involved when laying it down. It’s also a very versatile solution as it’s easy to cut with a knife, helping you to fit the film to the room you are working in.
Dust sheets
Dust sheets (also referred to as drop cloths) are an excellent option when it comes to painting rooms that are carpeted. This is a very traditional option and still favoured by many and it’s not hard to see why. One of the reasons is because of their immense reusability; cotton dust sheets are washable and long-lasting, meaning you can use them time after time. You can also acquire heavy-duty variations for even more protection. When it comes to floor protection sheets for painting rooms with carpets, dust sheets are an excellent choice.
Protection fleece
You could also consider a protection fleece product, which is ideal for use on sensitive surfaces. These 100 percent waterproof fleeces feature a tacky film on the underside and an anti-slip surface on the top, making them very safe and stable for use when decorating. If you are worried about damaging a sensitive floor surface, the soft material of a protection fleece is definitely a good way to go.
Card floor protection
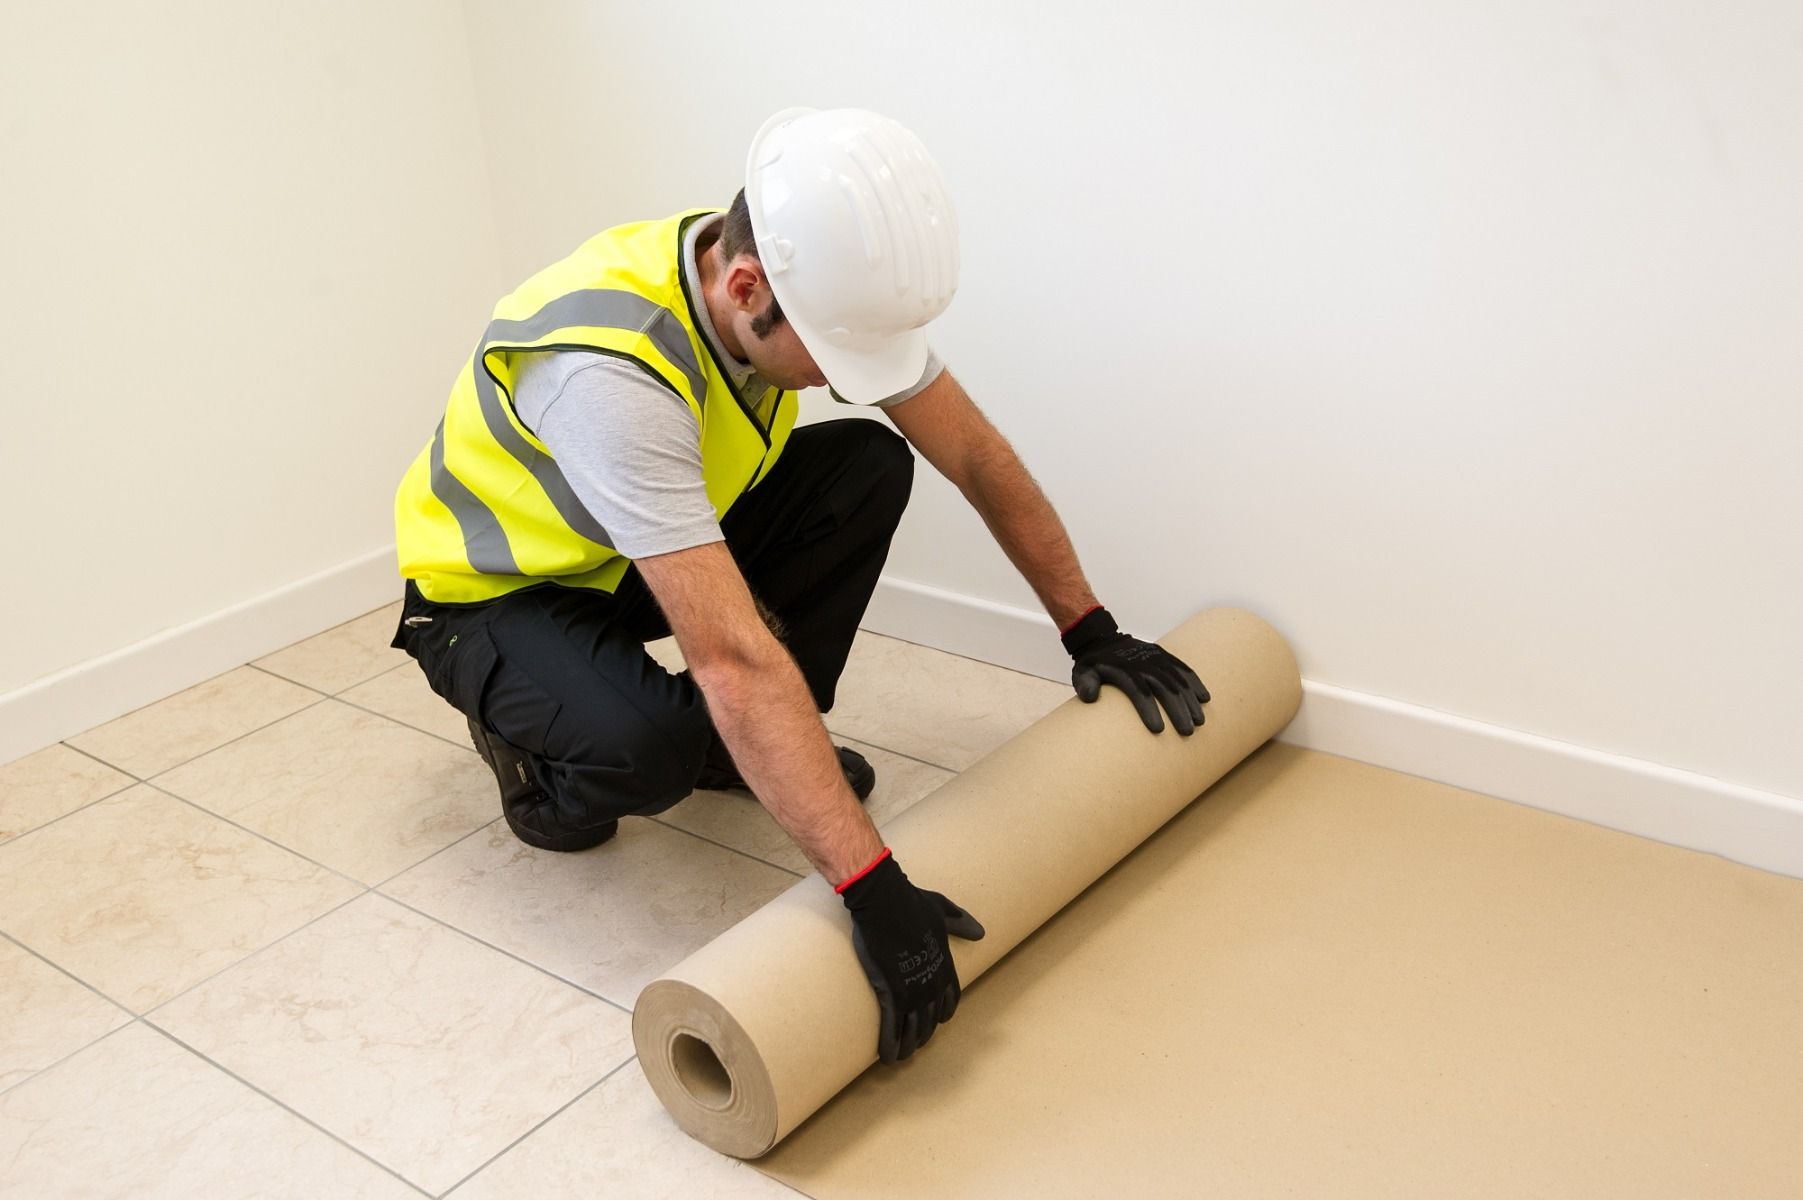
If you are painting a room that features hard floors, a great option to consider is a card floor protection covering. Using floor protection paper for painting in a room with hard floors can be a safer option than using plastic or cloth as these surfaces can sometimes cause slippage on hard surfaces. Impact, slip, and water-resistant card protection is easy to use and is supplied in rolls for simple application when covering a floor.
The team at Traditional Painter - Hand painted kitchen and furniture specialist painters – are fans of using a paper-based floor covering, and have shared: “Critics say it is not environmentally responsible using paper, but I do re-use the paper whenever possible, and on balance, I would rather recycle a few lengths of paper than replace a floor or carpet, or wash out cotton dust sheets.”
Proguard’s card floor protection is made from all recycled materials so users can know they are doing their bit for the environment too.
2. Have emergency clean-up items ready
If you have been vigilant with your floor protection materials, there shouldn’t be much to worry about when it comes to spilling paint on the surface below, but it never hurts to have emergency clean-up items ready to go should the worst happen.
Family Handyman advises the following for cleaning up paint spills on carpeted surfaces: “The keys to complete stain removal are speed and lots of water. Latex paint dries fast, and seconds count. Don't go for the water bucket yourself. Shout for someone else to bring it. Immediately scoop up the spill with a wide putty knife, dustpan or whatever is handy. Don't wipe up the spill; you'll just force the paint deeper into the carpet.”
For hard surfaces, it’s handy to have some alcoholic floor wipes at hand, as the alcohol will loosen the paint that has been spilt, allowing you to wipe away the offending mark.
So, water, floor wipes, and a knife for scooping up excess paint should all be in your arsenal, ready to go in case they are needed.
3. Clean the floor
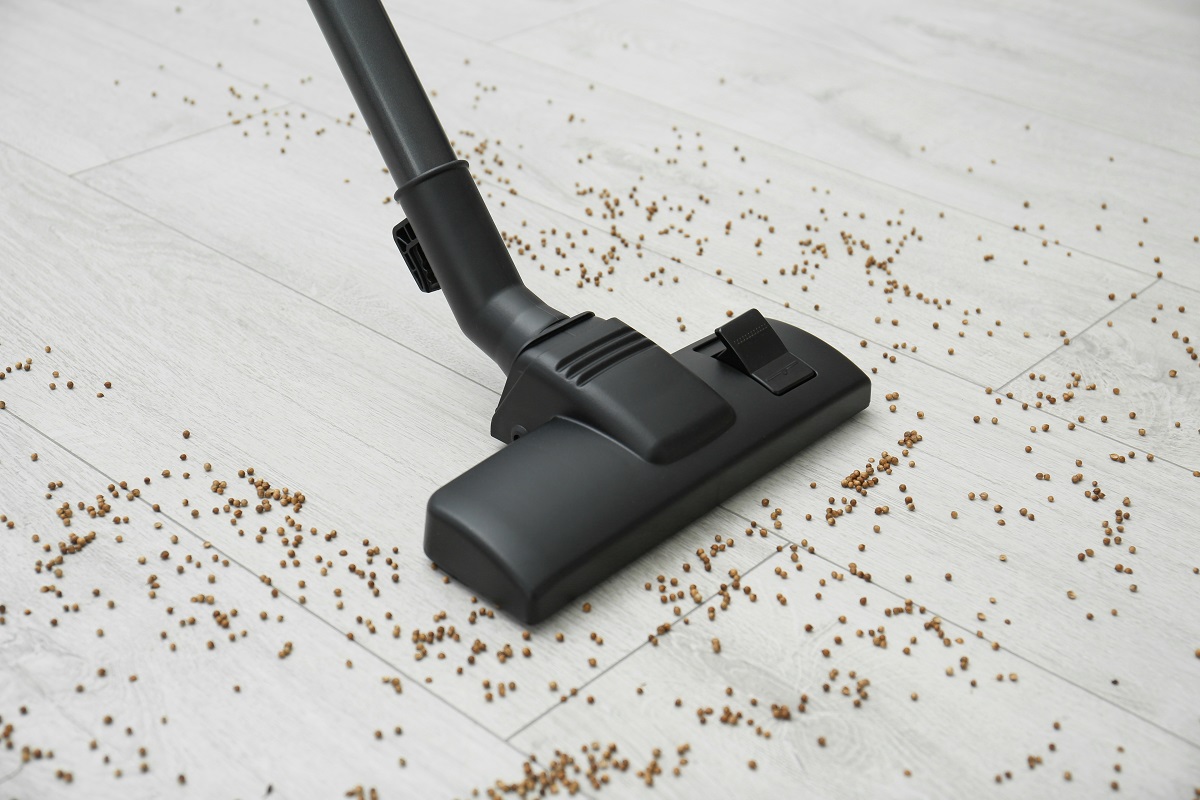
Before you proceed any further or think about laying down your chosen protection material, the next step is to clean the floor itself. This is because if there is anything trapped underneath your covering, it could cause the floor damage when it is trodden on during the painting process. So, get the vacuum and make sure the floor is free of any debris before moving on.
4. Apply masking tape to the perimeter
In order to prevent paint from dripping onto the edge of the carpet and floor surface, as well as the bottom of the skirting board, the next step is to get out the masking tape and tape the perimeter of the floor. This simple process of applying a couple of inches of masking tape around the room will give you peace of mind and make sure that every little bit of the floor and connected areas are safe from spilt paint.
5. Lay down your floor covering
The next step is to lay down your chosen floor covering. Make sure to spread it evenly across the surface, laying it down flat so that the covering is lined up neatly against the wall. Make sure every part of the floor is covered and this includes under any furniture you might have. If you can’t remove furniture from the room, you can cover the furniture itself to make sure no paint gets on them or sneaks onto the floor below.
6. Cut off excess material
If you have opted for plastic or card covering, you can now cut off any excess material with a pair of scissors, using what’s left to cover any sections of the floor that are left unprotected. Or you can simply use your spare material for another room or a job in the future. Just make sure to take what’s left out of the room so that it doesn’t get in the way during the painting.
7. Carefully line up the floor protection material
Now is a good time to make sure that everything is still lined up nice and neatly, flush with the wall and that there are no exposed areas of the floor. When using coverings with self-adhesive, it’s more likely to stay in place but it’s never a bad idea to double-check. Once you are satisfied that it’s all lined up and the protection material is directly over the tape you have laid down around the floor’s perimeter, you can move on to the eighth and final step before painting.
8. Tape down the edges
To keep everything exactly where it needs to be, the next step is to tape down the edge of your floor covering (if you are using a material with a self-adhesive, you can skip this step if desired). Tape along the perimeter as before, making sure everything is secure. Once you are happy, you are now ready to start painting! Put away any tools and equipment you don’t need and crack on with the task at hand.
How to cover floors when painting
- Select your protection material
- Have emergency clean-up items ready
- Clean the floor
- Apply masking tape to the perimeter
- Lay down your floor covering
- Cut off excess material
- Carefully line up the floor protection material
- Tape down the edges
We hope this instructional guide has proved useful and will help you protect floors during your next painting and decorating job. By selecting the right protection material, you will be in a great position to keep surfaces safe.
Here at Proguard, we offer all kinds of surface protection solutions, as well as the likes of ceramic hob protectors and scaffold protection. Please feel to browse our website and take a look at our news page for more tips, guides, and advice.